


Building large-scale React applications can feel overwhelming at first. I've been there – staring at a project that started small but grew into this massive beast with components scattered everywhere, business logic mixed with UI code, and honestly, nobody really knowing where anything belongs anymore. If you're dealing with a React app that's getting out of hand, or you're about to start a big project and want to do it right from the beginning, this guide is for you.
The thing about React is that it's incredibly flexible. That's both a blessing and a curse. Facebook (now Meta) intentionally kept React unopinionated about how you structure your apps, which means you have freedom... but also means you can easily paint yourself into a corner if you don't think things through.
Why Project Structure Actually Matters More Than You Think
Let me tell you a story. I once worked on a React project where components lived in a folder called "stuff" – I kid you not. The main App.js file was over 500 lines long, API calls were scattered throughout random components, and finding anything took forever. When new developers joined the team, their onboarding was basically "good luck figuring it out."
That's when I realized that good project structure isn't just about being neat and tidy. It's about:
- Making your codebase understandable for new team members who join months or years later
- Reducing the mental overhead when you're hunting down bugs at 2 AM
- Enabling your team to work on different features simultaneously without stepping on each other's toes
- Making it easier to refactor and maintain your code as requirements change
- Improving your build times and bundle optimization opportunities
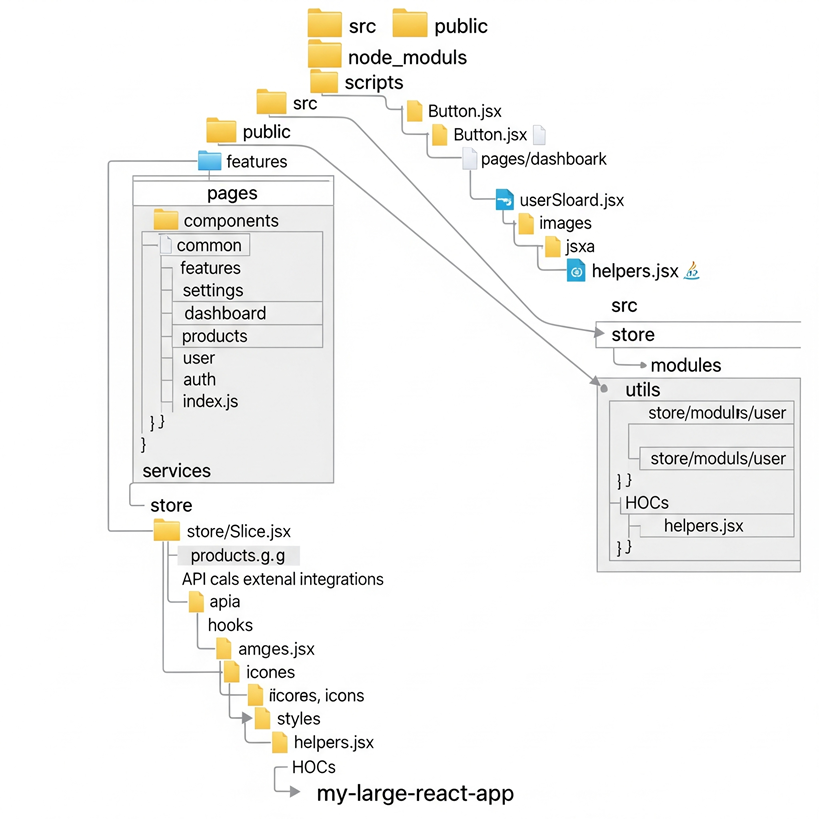
The Foundation: Feature-Based Architecture
Forget about organizing everything by file type – that's a recipe for disaster in large applications. Instead, think in terms of features or domains. Here's a structure that I've found works really well for most projects:
src/
├── components/           # Shared/common components
│   ├── ui/              # Basic UI components (Button, Input, Modal)
│   ├── layout/          # Layout components (Header, Sidebar, Footer)
│   └── forms/           # Reusable form components
├── features/            # Feature-specific code
│   ├── auth/
│   │   ├── components/  # Auth-specific components
│   │   ├── hooks/       # Auth-related custom hooks
│   │   ├── services/    # Auth API calls
│   │   ├── types/       # TypeScript types for auth
│   │   └── utils/       # Auth utility functions
│   ├── dashboard/
│   │   ├── components/
│   │   ├── hooks/
│   │   └── services/
│   └── user-management/
├── hooks/               # Global custom hooks
├── services/            # Global API services
├── utils/               # Global utility functions
├── types/               # Global TypeScript types
├── constants/           # App-wide constants
├── store/               # State management (Redux, Zustand, etc.)
└── assets/ # Static assetsThe key insight here is that everything related to a specific feature lives together. When you're working on the authentication flow, you don't need to jump between a dozen different folders. Everything you need is right there in the `features/auth` directory.
Building Reusable Components the Right Way
Let's get into some actual code. One mistake I see constantly is building components that are too tightly coupled to specific use cases. Here's how to build truly reusable components:
// ❌ Bad: Too specific, hard to reuse
const UserProfileButton = ({ user, onLogout }) => {
  return (
    <button>
      <img src="{user.avatar}" alt="Avatar" class="fr-fic fr-dii">
      <span>{user.name}</span>
      </button><button>Logout</button>

  );
};

// ✅ Good: Flexible and composable
const Button = ({
  variant = 'primary',
  size = 'medium',
  children,
  className = '',
  ...props
}) => {
  const baseClasses = 'inline-flex items-center justify-center font-medium rounded-md transition-colors';
  const variantClasses = {
    primary: 'bg-blue-600 hover:bg-blue-700 text-white',
    secondary: 'bg-gray-200 hover:bg-gray-300 text-gray-900',
    ghost: 'hover:bg-gray-100 text-gray-700'
  };
  const sizeClasses = {
    small: 'px-3 py-1.5 text-sm',
    medium: 'px-4 py-2 text-base',
    large: 'px-6 py-3 text-lg'
  };

  return (
    <button>
      {children}
    </button>
  );
};

// Now you can use it anywhere
const UserProfile = ({ user, onLogout }) => {
  return (
    <div>
      <img src="{user.avatar}" alt="Avatar" class="fr-fic fr-dii">
      <span>{user.name}</span>
      <button size="small">
        Logout
      </button>
    </div>
  );
};

State Management: Don't Overcomplicate Things
Here's something that might surprise you – you probably don't need Redux for most projects. I've seen teams reach for Redux immediately because they think they need it for "large-scale" apps, but honestly, React's built-in state management plus a few custom hooks can take you pretty far.
Here's my rule of thumb: start simple, then add complexity only when you actually need it. Here's how I typically handle state in different scenarios:
// Local component state - use useState
const LoginForm = () => {
  const [email, setEmail] = useState('');
  const [password, setPassword] = useState('');
  const [isLoading, setIsLoading] = useState(false);

  // Component logic here...
};

// Shared state across a few components - use useContext
const AuthContext = createContext();

export const AuthProvider = ({ children }) => {
  const [user, setUser] = useState(null);
  const [isAuthenticated, setIsAuthenticated] = useState(false);

  const login = async (credentials) => {
    setIsLoading(true);
    try {
      const user = await authService.login(credentials);
      setUser(user);
      setIsAuthenticated(true);
    } catch (error) {
      // Handle error
    } finally {
      setIsLoading(false);
    }
  };

  const logout = () => {
    setUser(null);
    setIsAuthenticated(false);
    authService.logout();
  };

  return (

      {children}

  );
};

// Complex state with many interconnected pieces - consider Zustand or Redux
import { create } from 'zustand';

const useAppStore = create((set, get) => ({
  user: null,
  notifications: [],
  theme: 'light',

  setUser: (user) => set({ user }),
  addNotification: (notification) =>
    set((state) => ({
      notifications: [...state.notifications, notification]
    })),
  toggleTheme: () =>
    set((state) => ({
      theme: state.theme === 'light' ? 'dark' : 'light'
    })),
}));The best architecture is the one that solves your current problems without over-engineering for problems you might never have. Start with what React gives you, then add tools as your complexity genuinely requires them.
Personal Experience
Custom Hooks: Your Secret Weapon for Clean Code
Custom hooks are where React really shines in large applications. They let you extract complex logic into reusable, testable chunks. Here's a pattern I use constantly:
// features/dashboard/hooks/useUserStats.js
import { useState, useEffect } from 'react';
import { statsService } from '../services/statsService';

export const useUserStats = (userId) => {
  const [stats, setStats] = useState(null);
  const [isLoading, setIsLoading] = useState(true);
  const [error, setError] = useState(null);

  useEffect(() => {
    let isCancelled = false;

    const fetchStats = async () => {
      try {
        setIsLoading(true);
        setError(null);
        const userStats = await statsService.getUserStats(userId);

        if (!isCancelled) {
          setStats(userStats);
        }
      } catch (err) {
        if (!isCancelled) {
          setError(err.message);
        }
      } finally {
        if (!isCancelled) {
          setIsLoading(false);
        }
      }
    };

    if (userId) {
      fetchStats();
    }

    return () => {
      isCancelled = true;
    };
  }, [userId]);

  const refreshStats = () => {
    if (userId) {
      fetchStats();
    }
  };

  return { stats, isLoading, error, refreshStats };
};

// Usage in component
const UserDashboard = ({ userId }) => {
  const { stats, isLoading, error, refreshStats } = useUserStats(userId);

  if (isLoading) return ;
  if (error) return ;

  return (
    <div>
      <h1>Dashboard</h1>


    </div>
  );
};API Layer: Keep It Organized and Consistent
One thing that gets messy fast in large apps is API calls scattered everywhere. I've learned to create a consistent API layer that makes it easy to understand what data flows through your app. Here's the pattern I use:
// services/api.js - Base API configuration
import axios from 'axios';

const api = axios.create({
  baseURL: process.env.REACT_APP_API_URL,
  timeout: 10000,
});

// Add auth token to requests
api.interceptors.request.use((config) => {
  const token = localStorage.getItem('authToken');
  if (token) {
    config.headers.Authorization = `Bearer ${token}`;
  }
  return config;
});

// Handle common error responses
api.interceptors.response.use(
  (response) => response,
  (error) => {
    if (error.response?.status === 401) {
      // Redirect to login
      window.location.href = '/login';
    }
    return Promise.reject(error);
  }
);

export default api;

// features/users/services/userService.js
import api from '../../../services/api';

export const userService = {
  getUsers: async (params = {}) => {
    const response = await api.get('/users', { params });
    return response.data;
  },

  getUserById: async (id) => {
    const response = await api.get(`/users/${id}`);
    return response.data;
  },

  createUser: async (userData) => {
    const response = await api.post('/users', userData);
    return response.data;
  },

  updateUser: async (id, userData) => {
    const response = await api.put(`/users/${id}`, userData);
    return response.data;
  },

  deleteUser: async (id) => {
    await api.delete(`/users/${id}`);
  },
};

// Hook that uses the service
export const useUsers = () => {
  const [users, setUsers] = useState([]);
  const [isLoading, setIsLoading] = useState(false);

  const loadUsers = async (filters = {}) => {
    setIsLoading(true);
    try {
      const userData = await userService.getUsers(filters);
      setUsers(userData);
    } catch (error) {
      console.error('Failed to load users:', error);
    } finally {
      setIsLoading(false);
    }
  };

  const createUser = async (userData) => {
    try {
      const newUser = await userService.createUser(userData);
      setUsers(prev => [...prev, newUser]);
      return newUser;
    } catch (error) {
      console.error('Failed to create user:', error);
      throw error;
    }
  };

  return {
    users,
    isLoading,
    loadUsers,
    createUser,
  };
};Performance Considerations for Large Apps
As your React app grows, performance becomes crucial. Here are the strategies I've found most effective:
- Code splitting at the route level using React.lazy() and Suspense
- Memoizing expensive calculations with useMemo and useCallback
- Virtualizing long lists with libraries like react-window
- Optimizing bundle size by analyzing what you're actually importing
- Using React.memo for components that render frequently with the same props
Here's a practical example of implementing code splitting:
// App.js
import { Suspense, lazy } from 'react';
import { BrowserRouter, Routes, Route } from 'react-router-dom';
import LoadingSpinner from './components/ui/LoadingSpinner';

// Lazy load feature components
const Dashboard = lazy(() => import('./features/dashboard/Dashboard'));
const UserManagement = lazy(() => import('./features/users/UserManagement'));
const Settings = lazy(() => import('./features/settings/Settings'));

function App() {
  return (

      <div>
        }>

            } />
            } />
            } />


      </div>

  );
}

export default App;Testing Strategy That Actually Works
Testing large React applications can be daunting, but having a solid strategy makes all the difference. I focus on three levels of testing:
Unit tests for individual components and utilities, integration tests for feature workflows, and end-to-end tests for critical user journeys. The key is not to aim for 100% coverage – aim for testing the parts that matter most to your users and business.
For large applications, I've found that feature-based organization extends to testing too. Each feature folder gets its own test folder, and shared testing utilities live in a global test-utils directory.
The structure I've outlined here isn't perfect for every project – nothing ever is. But it's served me well across multiple large React applications, and more importantly, it's grown and evolved with those projects without requiring massive rewrites.
Remember, the best architecture is one that your team can understand and maintain. Don't get too caught up in following patterns perfectly. Focus on solving real problems, keeping things simple when you can, and adding complexity only when it genuinely makes your life easier. Your future self (and your teammates) will thank you for it.


0 Comment